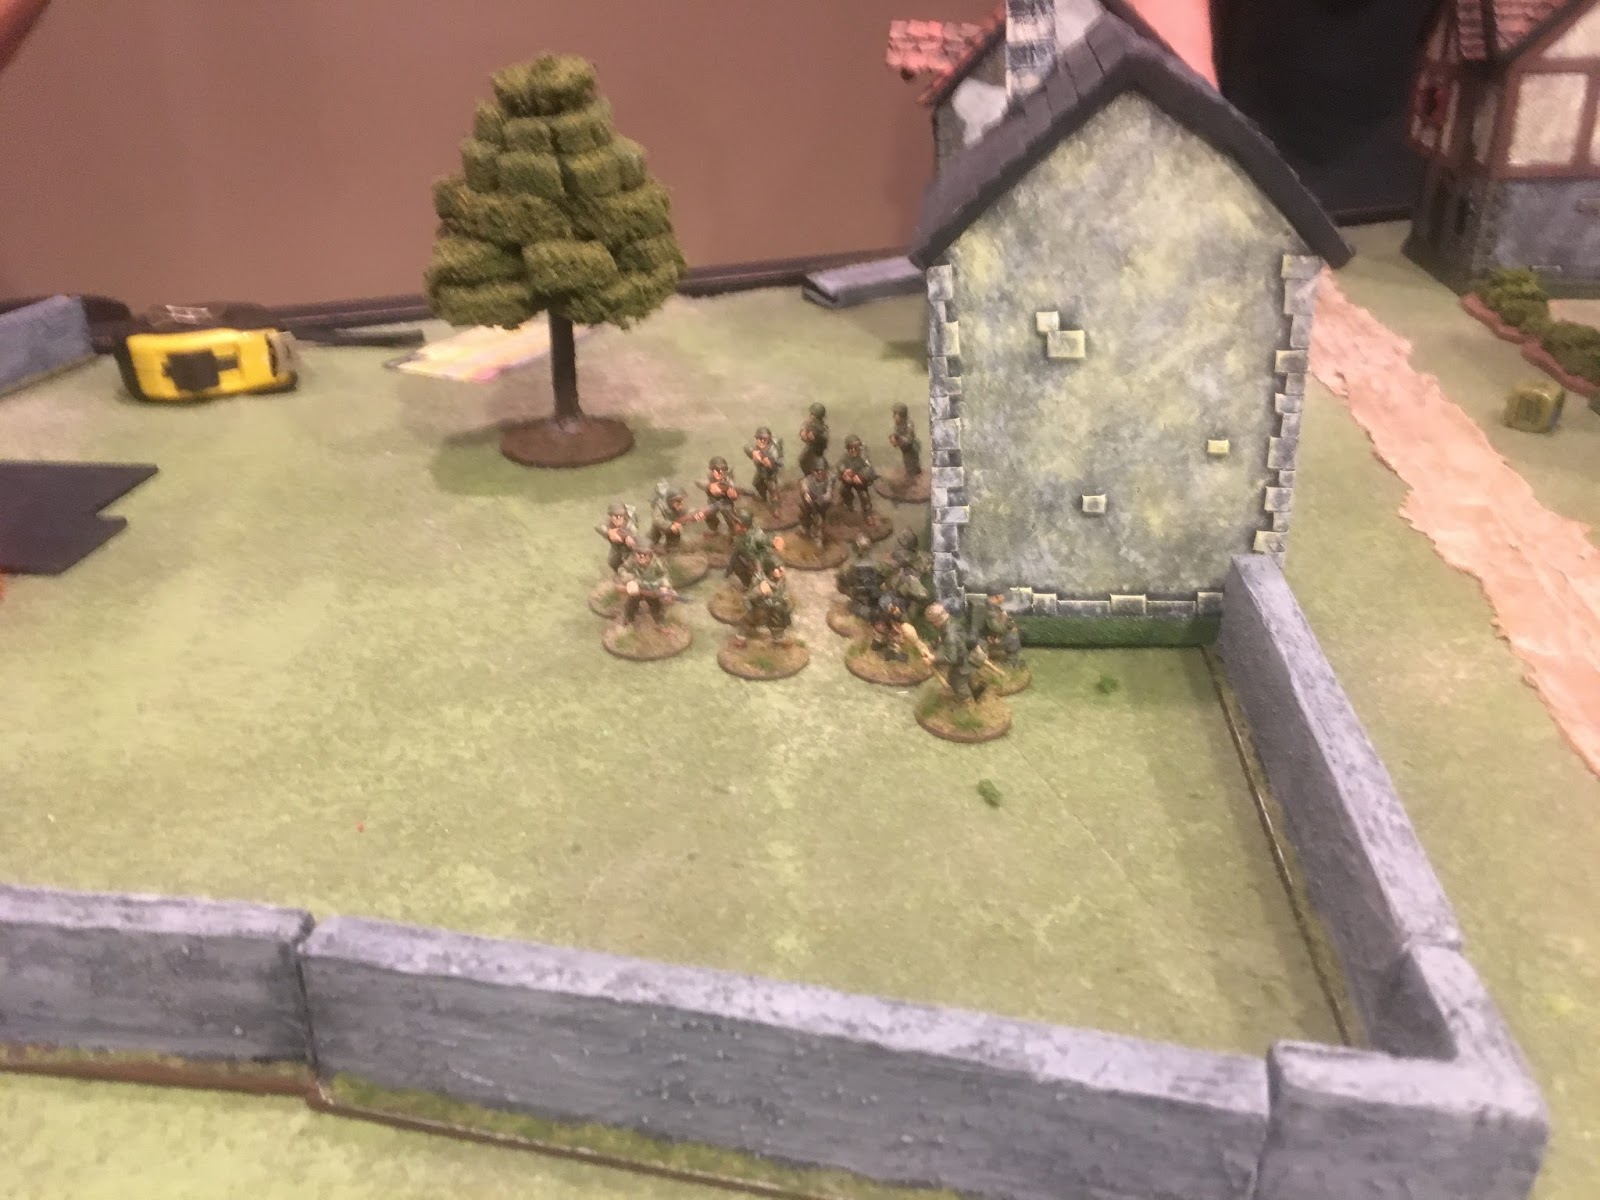
So now I have USMC, Chindits, and Japanese... What am I missing... of course Australians!! I did up a squad of Australian Militia, and have a jungle division infantry team, command, MMG team, and Flamethrower, mortar, and sniper teams waiting in the wings to be painted. Below is the Militia squad with commander.
Saturday, March 23, 2019
Chindits for WWII Pacific
Ok, so along the same lines, I've been adding to my WWII line for Bolt Action. I did up some Chindits for Jungle Play. Again... I've just bought a good half dozen or more blisters packs full last September at a local con called RECRUITS in Lee's Summit, MO. A couple Warlord dealers with a fairly decent selection and some minor discounts.
| Medium and Light Mortar Teams, and Vickers MMG Team |
| Based so team casualties can be removed. Something new I tried and liked. |
| AT-Rifle, PIAT, Flamethrower, Radio Teams |
| Always need some indigenous jungle guides!! |
Russians: Updates
Gonna update a bit and do several shorter posts showing some of the new stuff I've finished up. I've continued with my Russian WWII figs for Bolt Action. Most figures are from Warlord Games except the Winter Rifle Squad and the NKVD Squad, who were by Battle Honors. I've still got numerous squads and units in blister packs, bags, and some in the process of being painted. So many... what have I done?
| Command Team, Officers, Medic, Standard Bearer |
| Winter Rifle Squad |
| Anti-Tank and Flamethrower Teams |
| NKVD Squad |
| Assault Engineer Squad |
| Naval Infantry Squad |
| 120mm Heavy Mortar Team |
| 82mm Medium Mortar Team |
| Light Mortar Team |
Monday, June 11, 2018
TRASH into TREASURE: The Mountain Fortress
I’m always scrounging/saving something from the trash with the intent of transforming it or incorporating it into a gaming project. Bits of used sprue, the clear contact lens packets (for windows), Styrofoam or polystyrene (for terrain or buildings), can lids (for basing groups of figs), or any other general crap that catches my eye. Of course, this always draws a shake of the head from the Mrs. and a look on her face that says ‘Really? What are you going to do with that? My sad sweet little man’. As with all gamers or hobbyist, I think it’s about using a little imagination and creativity, plus a healthy desire to save some money here and there… prefab terrain, etc, isn’t cheap.
My latest find came while driving around during the city’s spring cleanup (any and all trash to the curb for pickup… no questions) looking for old used furniture for the Mrs. to refurbish (see dear, you do it too!!!). Anyway, my Spidey sense was tingling as I drove past a box and immediately backed up to get a better look at what my eyes had spied. In the box I find a brown plastic mountain thingy with a crane claw on top, mixed in with some Hot Wheels track. I grabbed the mountain, and ditched the track. The mountain thingy turns out to be from the Fisher-Price Geo Trax Mountain Blast Construction Quarry set from 2003.


I got it home and immediately began tearing off the crane/claw, shaving the tabs that hold the top to the bottom (now they just act as guides while allowing easy removal of the top if you want to put stuff inside), and removing a few other unnecessary bits. I then washed it to get whatever child spit and coodies off that might be on it, which foreseeably might lead to disease, pestilence, and early death. Children… Gods little petri-dishes! I glued in some thin card stock over certain area to hide holes and make spots for figures to sit. I sprayed on a coat of black spray primer, followed by a very light misting coat of brown. I wet-brushed on a medium dark gray, followed by some lighter gray to highlight. This was followed with moss flock (adds a pleasant smell as well), and then some turf grass in areas. Finally, I glued the base to a cut-to-fit piece of brown Masonite, textured side up, which I can add additional grass, brush, weeds, etc to, and which will make it easier to pick up and hold too. I’d like to create a couple interchangeable things, depending on the scenario, for the top of the mountain, ie. gun emplacement, radio tower, observation post, ray gun, etc.


It’s now set for use with any jungle, woodland, mountainous, or mysterious island, war gaming scenarios. It’s not super high, which is ideal for storage and perspective, but has several levels, hidey-holes, and interior that can be used. I foresee its use for some WWII Pacific Island scenarios, ie Peleliu, where the Marines had to assault fortified and entrenched Japanese defenders.
I added ground covering, which smelled great as it was made up of outdated herbs and spices from the kitchen cabinets. It looks like a good jungle floor of old leaves and stuff. I also used it on my jungle terrain bases.
Next Up… Scratch built tropical pacific huts and Guard Towers
I’m always scrounging/saving something from the trash with the intent of transforming it or incorporating it into a gaming project. Bits of used sprue, the clear contact lens packets (for windows), Styrofoam or polystyrene (for terrain or buildings), can lids (for basing groups of figs), or any other general crap that catches my eye. Of course, this always draws a shake of the head from the Mrs. and a look on her face that says ‘Really? What are you going to do with that? My sad sweet little man’. As with all gamers or hobbyist, I think it’s about using a little imagination and creativity, plus a healthy desire to save some money here and there… prefab terrain, etc, isn’t cheap.
My latest find came while driving around during the city’s spring cleanup (any and all trash to the curb for pickup… no questions) looking for old used furniture for the Mrs. to refurbish (see dear, you do it too!!!). Anyway, my Spidey sense was tingling as I drove past a box and immediately backed up to get a better look at what my eyes had spied. In the box I find a brown plastic mountain thingy with a crane claw on top, mixed in with some Hot Wheels track. I grabbed the mountain, and ditched the track. The mountain thingy turns out to be from the Fisher-Price Geo Trax Mountain Blast Construction Quarry set from 2003.


I got it home and immediately began tearing off the crane/claw, shaving the tabs that hold the top to the bottom (now they just act as guides while allowing easy removal of the top if you want to put stuff inside), and removing a few other unnecessary bits. I then washed it to get whatever child spit and coodies off that might be on it, which foreseeably might lead to disease, pestilence, and early death. Children… Gods little petri-dishes! I glued in some thin card stock over certain area to hide holes and make spots for figures to sit. I sprayed on a coat of black spray primer, followed by a very light misting coat of brown. I wet-brushed on a medium dark gray, followed by some lighter gray to highlight. This was followed with moss flock (adds a pleasant smell as well), and then some turf grass in areas. Finally, I glued the base to a cut-to-fit piece of brown Masonite, textured side up, which I can add additional grass, brush, weeds, etc to, and which will make it easier to pick up and hold too. I’d like to create a couple interchangeable things, depending on the scenario, for the top of the mountain, ie. gun emplacement, radio tower, observation post, ray gun, etc.


It’s now set for use with any jungle, woodland, mountainous, or mysterious island, war gaming scenarios. It’s not super high, which is ideal for storage and perspective, but has several levels, hidey-holes, and interior that can be used. I foresee its use for some WWII Pacific Island scenarios, ie Peleliu, where the Marines had to assault fortified and entrenched Japanese defenders.
Next Up… Scratch built tropical pacific huts and Guard Towers
Tuesday, April 25, 2017
Bolt Action: Operaton Breakout After Action Review
BOLT ACTION: OPERATION
BREAKOUT:
Last week we dusted off the Bolt Action rules, and muddled
our way through, with a few oversites in the rules, which we researched and
corrected, at least as far as the rules would let us (the consensus still believing
that an Ambush test should be based on experience of the unit attempting the
test, not a straight 50/50 chance). Ze Baron
decided to give it another go, as we still had Jon’s (Curio Clashes) German and
American figs at the Baron’s house, and the terrain was still on the table. This time around we again kept units simple
and attempted a straight forward game to further get familiar with the play of
the game.
The setup: A break
out scenario. Several German units are
caught behind the allied lines, having been enveloped within a pocket. The Americans need to move from field edges
into defensive positions across the width of the midline of the field and stop
the Germans pull back. The Germans goal
is to break through and get their units past the Americans and off the field,
back to their front lines and some well-earned steins of dunkel, and some sauerbraten
(Fritz wanted Pilsner… Fritz later died). A roadway was set in the middle dividing the field. Some bocage lined
the roads across the midline. On one end
of the midline road was a small hamlet of houses and on the other a couple bombed
out multi-level buildings.
![]() |
| Germans enter from the left, Americans from the Right |
We had a total of six players (down from eight last
week). Since the Americans were able to
select better defensive positions, they got one infantry unit per player and
one HQ unit for the team. The Germans who
were forced to maneuver against the defensive positions received a bit more
firepower in the form of four infantry units, and a HQ for the team.
The Americans maneuvered two infantry squads, Rangers and
Paratroops, and the HQ unit into static positions inside buildings in the
hamlet. A regular infantry squad took a
bombed out building at the opposite end of the road, and waited for the German
advance. The Germans, dreaming of the
dunkel and sauerbraten quickly proceeded forward. A squad of Heer Wehrmacht and a squad of Heer
Grenadiers moved up the center towards cover of bocage along the center
road. An SS squad, another Heer Wehrmacht
squad and the HQ unit moved left towards the hamlet.
![]() |
| Rangers and Paratroops move into Hamlet |
![]() |
| Infantry move to the ruined building |
![]() |
| SS Fight from behind bocage |
![]() |
| Wehrmacht and HQ use woods to move up |
![]() |
| Paratroops wipe out German Squad in Close-Quarters fighting |
Across the field at the bombed out building…
The infantry squad was engaged by the Wehrmacht and Grenadier
squads. The Americans inflicted some
casualties and Pins on the Grens, but the both German units were able to put
down some punishing fire on the entrenched Americans. The Grens unit was eventually whittled down
to three men. However, two units on one
caused the Pins to start accumulating rapidly for the Americans. The Americans on this side also needed to
Rally to get rid of Pins. The orders
dice were also in the Germans favor.
Both German units activated before the hapless Americans on numerous
turns. It was just too much and
eventually the American squad was wiped out.
No need to stay and fight in the hamlet, as two thirds of the
battlefield now lay open for the German retirement. It’s Dunkel and sauerbraten, and tales of
heroism in service to the Fatherland for the victors tonight.
![]() |
| Germans in the Distance |
![]() |
| Shooting at Germans behind bocage |
![]() |
| Victorious Germans move past the destroyed American position, headed for their own lines |
After Action Review (AAR):
Overall it went pretty smoothly.
Surprisingly, even with six players, the play moved along pretty well,
but probably in part to everyone more or less controlling just one unit. Getting orders dice out in a timely manner
also sped things up as well as each unit again had their own color to
differentiate which unit was activating.
I don’t recall any major rules issues.
There was some question of splitting a unit’s fire between two opposing
units, especially for units in a house facing different angles towards
different units. For that we said it was
ok to split fire as long as it was on the same orders dice turn, otherwise a
unit had to fire at just one opposing unit.
I’m still looking to see if there are some rules regarding that. Use of the Rally order was effective, but
without supporting fire to Pin enemy units and cover the rallying unit, the
unit inevitably got shot all to hell the next round. There was some good use of the HQ ability to
activate units within 6 inches, and this was done on a couple of occasion by
the German units. The Americans set up
prevented this (out of range), and they did not adjust their proximity to their
other units to take advantage of that.
The Americans in the hamlet also settled into stagnate and poor
visibility positions early on and did not maneuver out to lend crossing fields
of fire or make use of better ambush positions.
There were several rounds where a unit just didn’t fire due to
line-of-sight restrictions. It was a
wide area to defend. The German units
split their forces, two to each side, but had they early chose to push all
units toward the one American unit in the bombed out building, they could have
forced the Americans in the hamlet out of cover to come to the reinforcement of
the lone unit, and thereby engage them on their own ground, or else the lone
unit would very quickly have become ground meat and bypassed. It can be a tough decision knowing when to be
defensive and when to be aggressive. Typically
units in a good defensible position have the advantage. But in BA we again see that multiple units
coordinating fire against a single unit can negate that. In our game, a squad of 11 men, with 8
rifles, 1 Automatic Rifle, and two submachine guns can potentially give you
between 10 and 14 to-hit dice, more if your unit carries a light or medium
machine gun. That’s a lot of damn dice. Now multiply that time two or even three
units converging fire on a single unit. Even
if you needed 6’s to hit, the law of averages says you’re going to roll a 6
somewhere in there. Regardless if you
kill a man, you’ve inflicted a Pin. Use
those Pins to neutralize and slow the enemy. BA seems to favor the side that’s most aggressive;
then again, maybe it’s just the luck of the dice.
Monday, April 17, 2017
Battle for the Crossroads After Action Report
Alright: At ease.
Bolt Action Battle for the Crossroads After Action Report:
The Basement Generals engaged in some WWII gaming at Baron
Von J’s last Thursday using the Warlord Games, Bold Action (BA) rules (2nd
Edition). Jon from Curio Clashes brought his most excellent American and German 28mm forces. The scenario was a battle over
a crossroads, with several other strategic victory markers locations. At the end of six rounds of play, the side
who held the most strategic marker locations wins.
The set up: We played
diagonally on a 6x9 foot table, and visually the terrain and layout was super
nice looking. A 4 way crossroad was in
the center of the table with Bocage hedgerows extending out along each side of
the axis of the road intersection for about 12-15 inches. Some buildings
(strategic locations) flanked either end of the road that divided the Americans
and Germans, as well as one at the rear of each sides area. Units were all infantry squads, except that
each side received one medium machine gun (MMG) crew. So far so good, although, we anticipated some
inevitable hurdles we have had in the past, namely that we had eight players,
four per side. BA is not well geared to
have that many players. No more than four
would probably be the best. With eight,
it’s easy to get distracted waiting on your turn to move, which often
culminates in a lot of talking and/or inattention to pass the time. With only one person moving at time, it can
bog down if not careful. Also with that
many players and not a lot of familiarity with the game and the new rules,
there are a lot of questions that arise that that need to be looked up and
possibly debated, especially if the rules are not correctly interpreted from
the rulebook (partly my bad). It took roughly
two hours +/- to run the game, which isn’t too terrible. Keeping it simple with just infantry units
helped. To begin, three players on each
side got one unit, and one player got their unit plus the MMG crew. A couple turns in, each side got two
reinforcement squads. We had enough different
colored dice that each person had their own color, one dice per unit. The dice go in a bag, and the turn is
determined by the color of the dice pulled. I tried to keep things moving by pulling the
next players die while one player was making their move, and alerting the next person
they were next, giving them a heads up to be planning their move. This can move pretty quickly when out of
range and maneuvering, but slows a bit when resolving battle.
Each side maneuvered forward toward the road crossing the
dividing point on the table. Each side
chose to hold its MMG crew back in an elevated position that could overview the
table, as they had a 36” range, and placed the MMG on Ambush orders (a rule
that became an issue I’ll discuss shortly).
An American squad made it to the crossroad and took position behind the
bocage. The Germans got a squad to the
bocage lined road and began pouring fire into the American squad, causing some
casualties and inflicting pin markers against it. A second German squad made it to the bocage
at the crossroads and heaped some additional fire into the American squad,
killing it off in a short amount of time.
One American squad made it to a bombed out three story farmhouse on the
left flank (all views are from the American side), but really leave it as you
had to hold the victory location to get the points, but this left them out of
range to engage the enemy fighting at the crossroads. On the right flank A German squad made it to a
two-story farm house and set up on Ambush orders (another area of the rules that
was misinterpreted and then debated for long while, which I’ll explain shortly). An American squad came into the house across
the street and got lightly shot up but put down some fire back, forcing the
Germans into a down position after a failed order test. Another American squad rushed the Germans in
the house for some close quarters fighting (here arose the third point of contention
and misinterpretation of the rules which coincided with the Ambush orders). The close-quarters fight, as we initially
played it, was brutally quick and the Germans died quickly, apparently by being
down and suggesting they did not see the charge of the Americans. Reinforcements and regular units fought
primarily for the crossroads, taking turns charging into the center and laying
down point blank (<6”) fire onto the opponents. The sixth round ended with the Americans
holding most of the strategic locations, although the crossroads was still
contested.
Okay, now for the critique…, first the MMG crews and ambush
orders. Ambush rules in BA 2nd Ed. read that on initiating an ambush
(seeing an opposing unit MOVE not fire), a six sided die is rolled and on a 1-3
the ambush fails (ie. unit was not paying attention) and on a 4-6, the Ambush
fire succeeds. I initially thought I
read, and put it out, that on a fail, the die gets removed and ambushing unit
loses its turn. This caused some serious
consternation, rescinded testicles, and curled toenails, and garnered the
question ‘Why the hell would you take the risk to use Ambush if your chance was
50/50 and if you fail you are done?’ After
further review, the rules state that if the roll fails the die is SUPPOSED to go back in the bag, and gets
pulled as a regular orders die, so the unit still gets to go that turn, just
not as an ambush. Oops, sorry. I kind of believe that the Ambush roll should
only fail if you roll a 1, or at most a 2, not 50/50, as most troops, at least
regular and veteran are going to be pretty alert. Hey, there’s an idea… Ambush roll depends on
the experience level of troops.
Inexperienced succeed on 4, 5, and 6; Regular succeed on 3 or better,
and Veteran on 2 or better. Stupid
conscripts are so inattentive.
Second if the Ambush succeeds, the die is changed from
Ambush to Fire and the die goes back into the draw bag at the end of turn, as
the unit has given up the element of surprise, I think we let one go and let
the Ambushing unit make a second ambush attack the next round. Memory is a bit fuzzy there.
The third issue involved a unit being down, and getting
charged into close-quarters hand-to hand resulting in the down unit getting
wiped out… DRT (Dead Right There). This
really caused some serious butt-hurt, but in the end the aggrieved player was probably
justified in his butt-hurtedness. If I
remember correctly, the German unit was pinned and down after failing an order
test. After further review of the rules,
it turns out the German unit, since it did not fire that round, and even though
it was pinned or down should have been given the opportunity for closing fire
against the charging American unit, factoring in any to-hit +/- modifiers, would
likely have whittled the assaulting unit down significantly. Secondly, depending on how you viewed the
close combat, whether facing off between an obstacle, ie. through windows (or
over bocage), versus rushing into the house to fight, the rules state that if
two units fight across a barrier with each other, close combat is resolved simultaneously
and attack rolls are made at the same time, versus an unobstructed meeting
engagement where the charging unit resolves hits first, then receiving unit
fights back with whatever is remaining of is unit.
Another issue encountered was a unit charging into close
quarter combat across bocage, ie. the unit was behind bocage and had to cross
it to assault a unit directly across the road behind another stand of bocage. One person thought the assaulting unit could
not do this because:
A. a unit making the assault must
issue a “RUN” order to that unit.
B. units can’t ‘run’ through hard
cover ie. bocage/wall/woods.
However, the rules indicate you can still issue a run order
to the assaulting unit, but encountering hard cover stops the run and limits
you to half movement, advance order speed of 6”. So, if a unit started right at the bocage,
issued a run order but immediately was limited to 6” for encountering the heavy
cover, as long as the unit could close to within 1” at the end of the movement
(this is the one exception that allows a unit to move slightly further than its
actual movement allowance), even if the defending unit is behind an obstacle, the
assault continues and you enter into close-combat and either move up to base-to-base
or fight across the obstacle, which I discussed above. In both instances, it seems the assault would
favor the defenders, as they should get closing fire (if they haven’t fire that
turn already, or unless the assaulting unit starts charge under 6” away), and
the fight across the obstacle causes the attacks to be made simultaneously.
Other food for thought… A bit of strategy for engagement, and
strategic and timely issuing of orders helps.
In BA, getting PINS on a unit, and using multiple units to inflict multiple
PINS on a unit is really important in neutralizing a unit’s effectiveness. Also, timely use of the ‘Rally’ and ‘Down’
orders as a method of removing multiple PIN markers is critical. And just because you have 5 PINS on a unit
(-5 to hit) doesn’t mean you CAN’T hit… it’s just really really hard (Need to
roll a 6 plus roll a second 6 for a ‘Nigh Impossible Shot’), but we’ve seen it
done. Good communication is also
helpful. Declare what your unit is going
to do. Try to be fairly precise as this
helps eliminate confusion of what the intended action was supposed to entail. It helps avoid the “what I really meant to do
was this…” and the inevitable response “Sure you did”.
All in all there were a few missteps along the way, some
misinterpreted rules, and some completely missed rule calls, ie. the number of
people that can fire out of a house (2 people per window or door), and giving a
negative 1 per PIN marker on the to-hit roll.
Luckily most of the discussion was good natured and constructive, and
hopefully helped all get a better understanding for future games. This was a pretty basic no frills game and we
still had these questions. More issues
will arise as we get a bit more in-depth, (ie. spotting hidden units I’m sure
will be one.)
Dis-smissed!
Sunday, March 19, 2017
The Russians Are Coming!
Well, I'm continuing on my kick or WWII 28mm, so in last couple months I'm starting to work on Russians. I've got a mix of old Battle Honors 28's and Bolt Action blister packs. BH gave a nice amount of figs with several different poses in a bag, about a squads worth. BA is nice for add on figures and set pieces, ie. Forward Observers, Flag Bearer, various mortars, Tank Hunters, etc. BA is a bit thicker and a millimeter or so taller, and bulkier than BH was, but I still really like the BH molds. BH had some good size armor pieces in it's range also... good solid metal. My BH Russians included Summer and Winter uniform squads, and they did a line of NKVD squads as well. Luckily I have all three types, so nice to have some options for gaming.
Not finished painting yet, but going to put a little taste of in progress stuff on here. I'm always struggling with color combinations and getting better at painting as a whole. Sometimes seems like one step forward and two back. I use primarily Vallejo Model Color which gives a nice color pallet in it's line. Deciding on colors for uniforms though is a pain. I've scanned numerous blogs and articles regarding colors. From a historical standpoint, it appears most agree that Russian uniforms could vary quite a bit, and dye lots were not heavily controlled. Several uniforms in a group could be shades off from each other. For painting it's easiest to just try to keep them all somewhat uniform, and hope that as you mix your paint you'll get the subtle change in shades. I'll get there. Soon I'll post a bit on my colors choices.
Saturday, April 12, 2014
Imperial Japanese Army Soldiers, Pacific
BANZAI!!! BANZAI!!! BANZAI!!! So echoed all through the line, the ferocious yell of the Emperor’s fanatically dedicated soldiers, bayonets fixed and gleaming in the moonlight on a hot and muggy Pacific night. Only about 60 men, about a third, remain of the company. Tattered uniforms, worn with pride, drape on bodies worn thin with hunger. A dingy, torn white flag, with its single large red center dot, hangs near motionless from a wooden staff held aloft by a stern-faced soldier, selected for this prestigious honor for his bravery and devotion. He and the lieutenant, the ranking officer remaining, stand in front of the bristling group of men. Ahead of them a short expanse of jungle, an upward sloping field, barbed wire, and the guns of the enemy wait. With a turn, and the flash of a sword through the night air, the final charge begins...
| Officer Corps |
| Jungle Transportation |
| Destined to Meet: US Marines vs IJA |
| Human Tank Destroyer and HMG Crew |
Subscribe to:
Posts (Atom)