BOLT ACTION: OPERATION
BREAKOUT:
Last week we dusted off the Bolt Action rules, and muddled
our way through, with a few oversites in the rules, which we researched and
corrected, at least as far as the rules would let us (the consensus still believing
that an Ambush test should be based on experience of the unit attempting the
test, not a straight 50/50 chance). Ze Baron
decided to give it another go, as we still had Jon’s (Curio Clashes) German and
American figs at the Baron’s house, and the terrain was still on the table. This time around we again kept units simple
and attempted a straight forward game to further get familiar with the play of
the game.
The setup: A break
out scenario. Several German units are
caught behind the allied lines, having been enveloped within a pocket. The Americans need to move from field edges
into defensive positions across the width of the midline of the field and stop
the Germans pull back. The Germans goal
is to break through and get their units past the Americans and off the field,
back to their front lines and some well-earned steins of dunkel, and some sauerbraten
(Fritz wanted Pilsner… Fritz later died). A roadway was set in the middle dividing the field. Some bocage lined
the roads across the midline. On one end
of the midline road was a small hamlet of houses and on the other a couple bombed
out multi-level buildings.
 |
| Germans enter from the left, Americans from the Right |
We had a total of six players (down from eight last
week). Since the Americans were able to
select better defensive positions, they got one infantry unit per player and
one HQ unit for the team. The Germans who
were forced to maneuver against the defensive positions received a bit more
firepower in the form of four infantry units, and a HQ for the team.
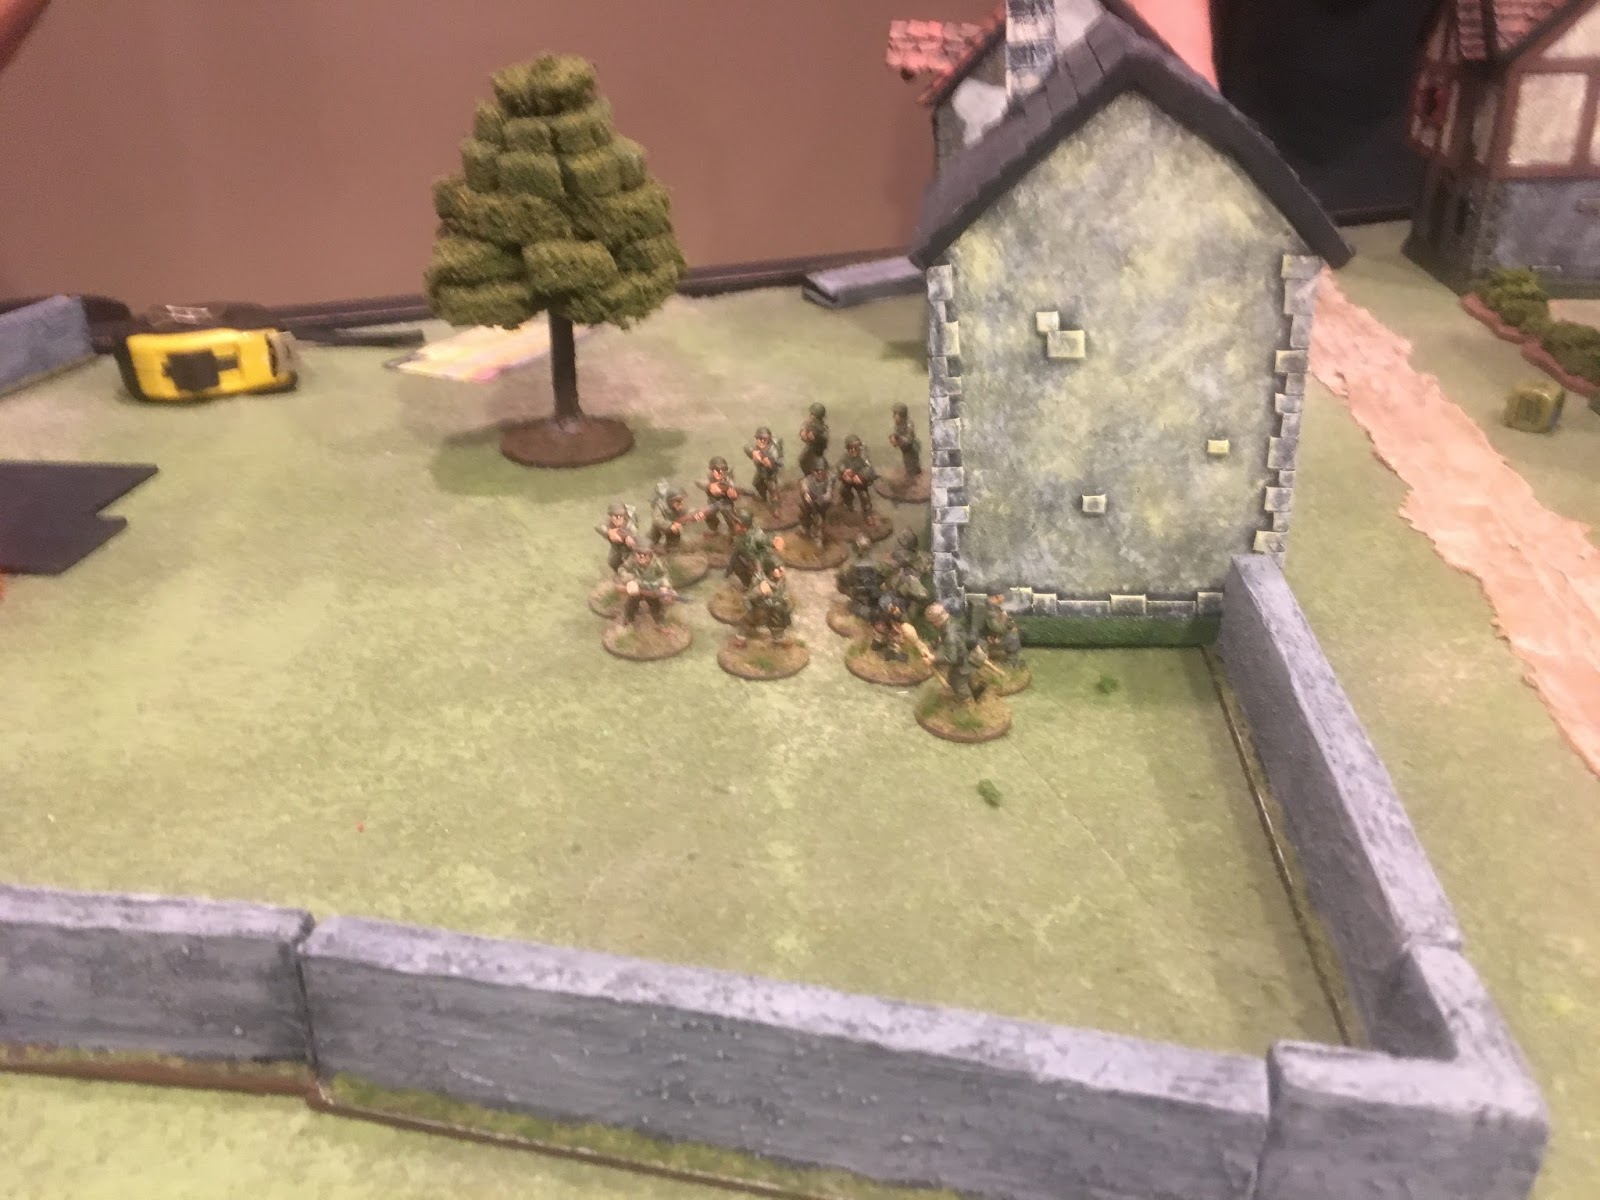
The Americans maneuvered two infantry squads, Rangers and
Paratroops, and the HQ unit into static positions inside buildings in the
hamlet. A regular infantry squad took a
bombed out building at the opposite end of the road, and waited for the German
advance. The Germans, dreaming of the
dunkel and sauerbraten quickly proceeded forward. A squad of Heer Wehrmacht and a squad of Heer
Grenadiers moved up the center towards cover of bocage along the center
road. An SS squad, another Heer Wehrmacht
squad and the HQ unit moved left towards the hamlet.
 |
| Rangers and Paratroops move into Hamlet |
 |
| Infantry move to the ruined building |
The Hamlet:
The
Americans got a bit bunched up and stagnate in the hamlet, limiting fields of
fire and the ability of all units to effectively put down fire against enemy
troops.
The German units used some
woods, bocage, and walls to shield their advance till they were mere meters
from the Americans positions in their warm little cottages.
The SS squad came in first, and laid down
some effective suppressive fire, even with Americans having heavy cover (-2 to
hit), adding Pins to the Rangers.
Casualties
were light (being a veteran unit helped), but soon mounted.
Several rounds of this and a failed
activation caused the Rangers to go down.
The Wehrmacht and HQ unit came in behind to
support and added additional Pins and casualties.
The Rangers soon had to Rally and give up a
round of shooting to remove Pins (hard to activate and shoot with 4+ pins
against you), however, without supporting fire, the next round found them
incurring more casualties and Pins to replace those rallied off.
Still, they did manage to inflict some
casualties on the tenacious SS squad.
The
Germans also effectively used the HQ unit to activate an additional squad on its
turn, as well as having the morale boost modifier for activation.
Soon the Rangers were but a few, and the SS
Squad quickly moved into close range (+1 to shooting) and vanquished the
Rangers.
The Wehrmacht hopped a wall to
attempt and assault on a house with Paratroops inside.
The paratroops, not having a good shot from
the windows, grabbed a big hairy handful of their man-parts and mustered the
necessary courage to leave the safety of their house and popped into the open, opening
fire on the Wehrmacht.
Unfortunately,
the -1 for moving and firing did not bode well and many shots either missed or
caused no damage, although there were a few, enough to remove a couple men
including a damage roll of 6 which allowed the American player to select the
casualty.
Goodbye submachine gun.
Now facing off at close range, would this be
it for our bold Para’s?
NO!!!
The Paras activated first and charged the Wehrmacht.
Closing fire was ineffective and a brutal
close-quarters fight annihilated the Wehrmacht squad (bravo-yanks).
But it was a short lived victory.
 |
| SS Fight from behind bocage |
 |
| Wehrmacht and HQ use woods to move up |
 |
| Paratroops wipe out German Squad in Close-Quarters fighting |
Across the field at the bombed out building…
The infantry squad was engaged by the Wehrmacht and Grenadier
squads. The Americans inflicted some
casualties and Pins on the Grens, but the both German units were able to put
down some punishing fire on the entrenched Americans. The Grens unit was eventually whittled down
to three men. However, two units on one
caused the Pins to start accumulating rapidly for the Americans. The Americans on this side also needed to
Rally to get rid of Pins. The orders
dice were also in the Germans favor.
Both German units activated before the hapless Americans on numerous
turns. It was just too much and
eventually the American squad was wiped out.
No need to stay and fight in the hamlet, as two thirds of the
battlefield now lay open for the German retirement. It’s Dunkel and sauerbraten, and tales of
heroism in service to the Fatherland for the victors tonight.
 |
| Germans in the Distance |
 |
| Shooting at Germans behind bocage |
 |
| Victorious Germans move past the destroyed American position, headed for their own lines |
After Action Review (AAR):
Overall it went pretty smoothly.
Surprisingly, even with six players, the play moved along pretty well,
but probably in part to everyone more or less controlling just one unit. Getting orders dice out in a timely manner
also sped things up as well as each unit again had their own color to
differentiate which unit was activating.
I don’t recall any major rules issues.
There was some question of splitting a unit’s fire between two opposing
units, especially for units in a house facing different angles towards
different units. For that we said it was
ok to split fire as long as it was on the same orders dice turn, otherwise a
unit had to fire at just one opposing unit.
I’m still looking to see if there are some rules regarding that. Use of the Rally order was effective, but
without supporting fire to Pin enemy units and cover the rallying unit, the
unit inevitably got shot all to hell the next round. There was some good use of the HQ ability to
activate units within 6 inches, and this was done on a couple of occasion by
the German units. The Americans set up
prevented this (out of range), and they did not adjust their proximity to their
other units to take advantage of that.
The Americans in the hamlet also settled into stagnate and poor
visibility positions early on and did not maneuver out to lend crossing fields
of fire or make use of better ambush positions.
There were several rounds where a unit just didn’t fire due to
line-of-sight restrictions. It was a
wide area to defend. The German units
split their forces, two to each side, but had they early chose to push all
units toward the one American unit in the bombed out building, they could have
forced the Americans in the hamlet out of cover to come to the reinforcement of
the lone unit, and thereby engage them on their own ground, or else the lone
unit would very quickly have become ground meat and bypassed. It can be a tough decision knowing when to be
defensive and when to be aggressive. Typically
units in a good defensible position have the advantage. But in BA we again see that multiple units
coordinating fire against a single unit can negate that. In our game, a squad of 11 men, with 8
rifles, 1 Automatic Rifle, and two submachine guns can potentially give you
between 10 and 14 to-hit dice, more if your unit carries a light or medium
machine gun. That’s a lot of damn dice. Now multiply that time two or even three
units converging fire on a single unit. Even
if you needed 6’s to hit, the law of averages says you’re going to roll a 6
somewhere in there. Regardless if you
kill a man, you’ve inflicted a Pin. Use
those Pins to neutralize and slow the enemy. BA seems to favor the side that’s most aggressive;
then again, maybe it’s just the luck of the dice.